Quick Start Guide
Follow these steps to quickly get started with Grapes
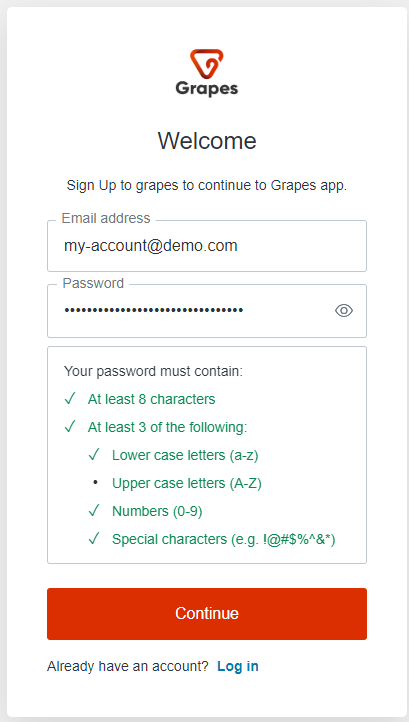
Create an Account
- Click on the sign-up link.
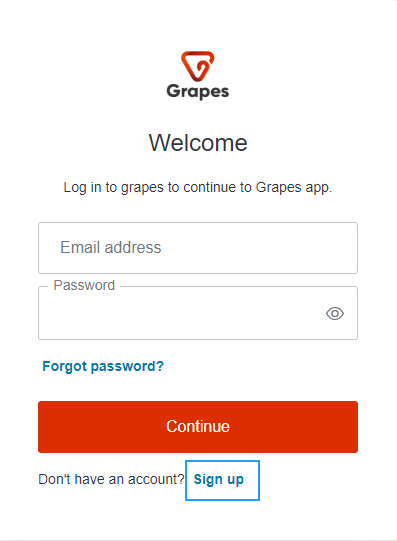
- Provide your authentication information.
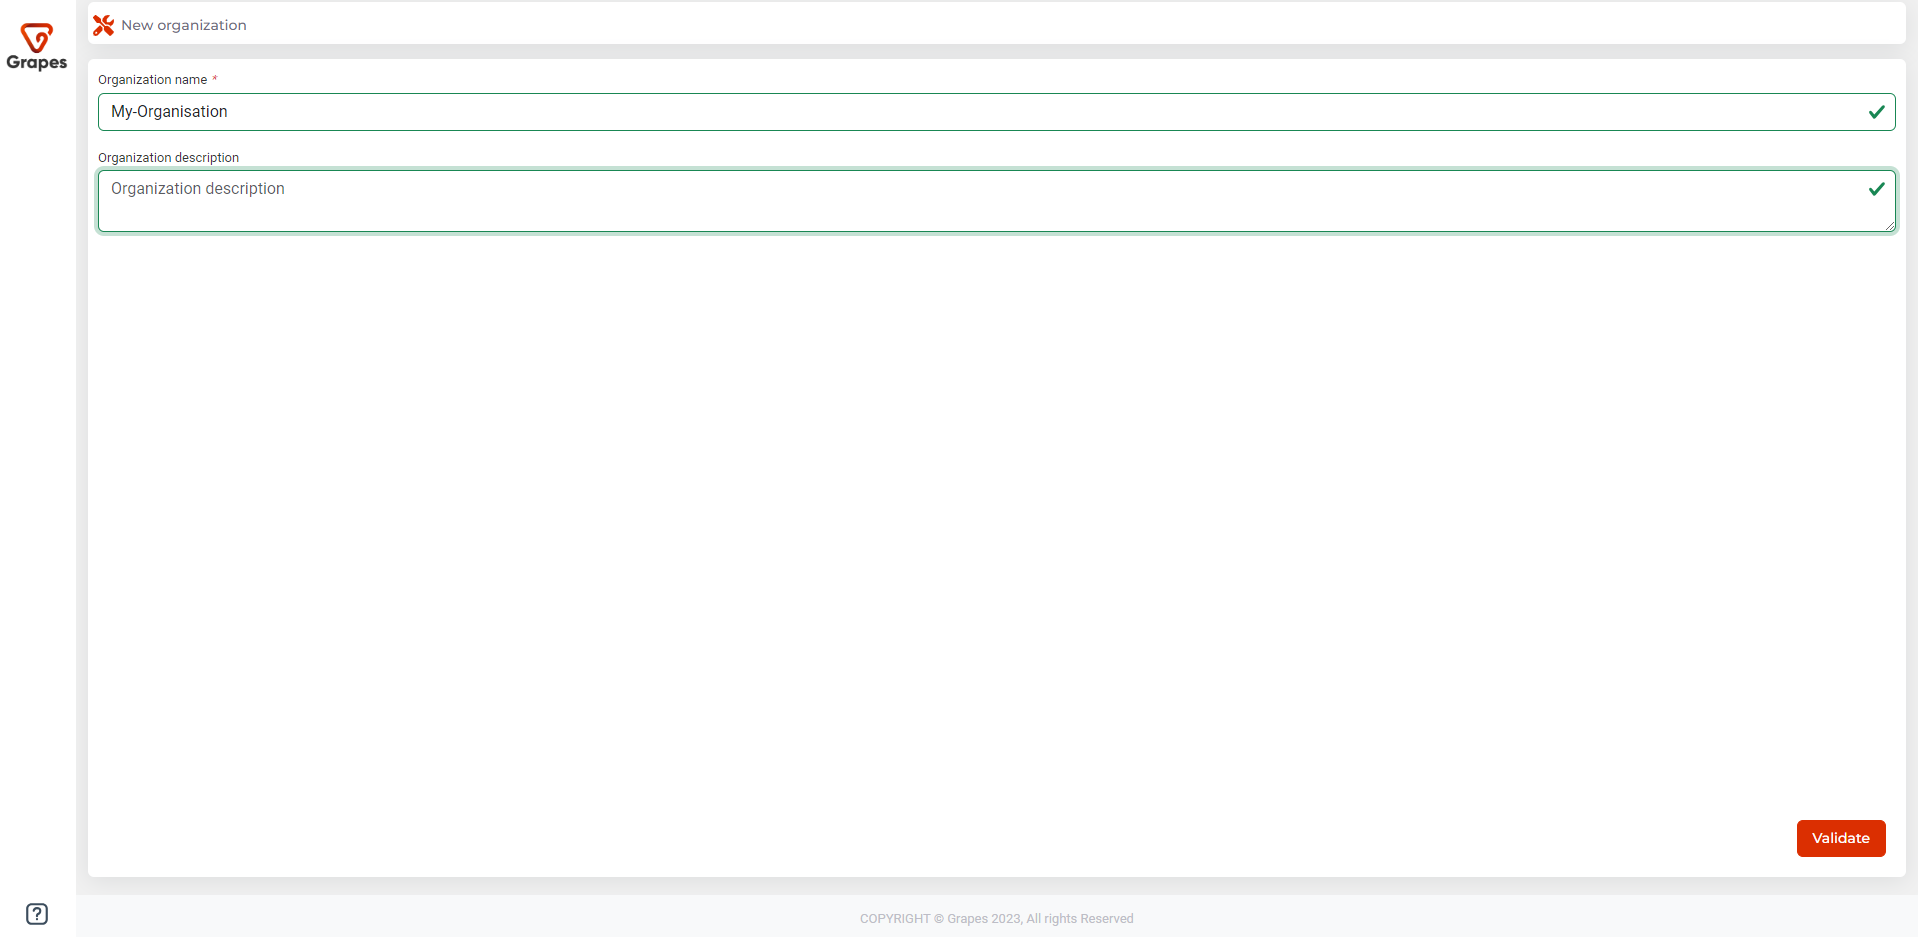
Create an Organization
Upon first login, provide information about your organization and confirm.
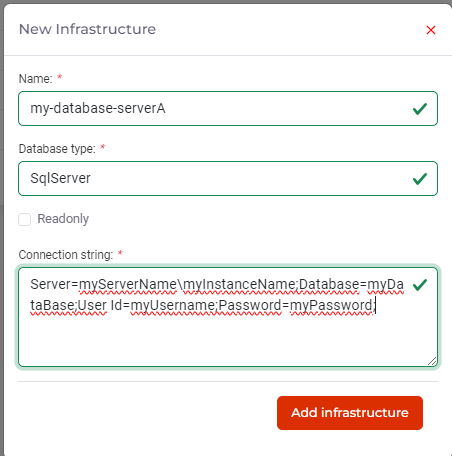
Create an Infrastructure
- Select the infrastructure tab from the homepage and click on the “Add Infrastructure” button.

- Provide connection information and confirm.
Notes
- Read-only infrastructures cannot perform data import operations.
- The connection string is only visible to users with the
read:infraSecretspermission.
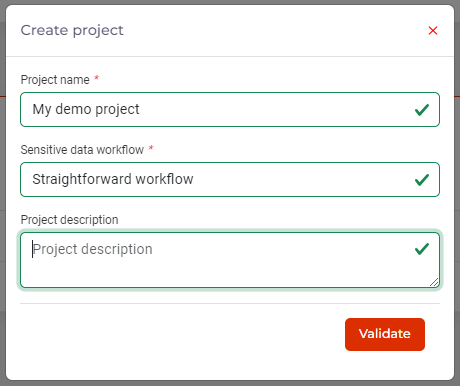
Create a Project
- Select the projects tab from the homepage and click on the “Add Project” button.

- Provide information about your project and confirm.
- Access the project space by clicking on it.
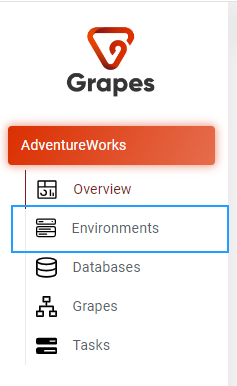
Create an Environment
- From the project space, click on the Environments submenu.
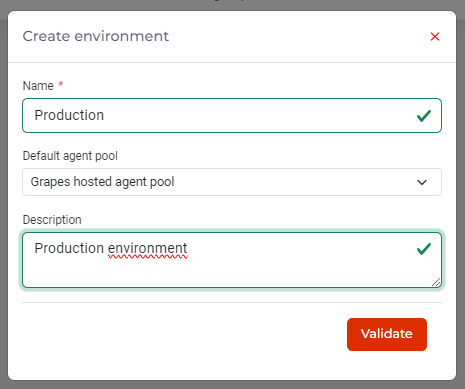
Click on the “Create Environment” button.
Provide information about your environment and confirm.
- Repeat the process for other environments.

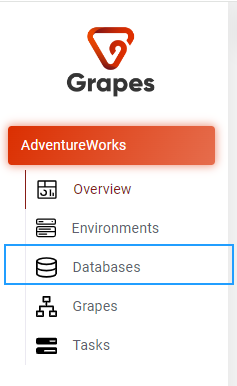
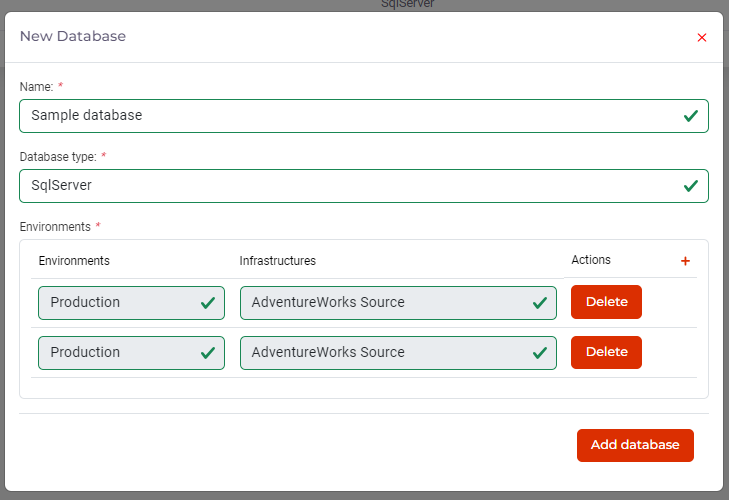
Create a Database
- From the project space, click on the Databases submenu.
- Provide information about your database and establish necessary links with environments, then confirm.
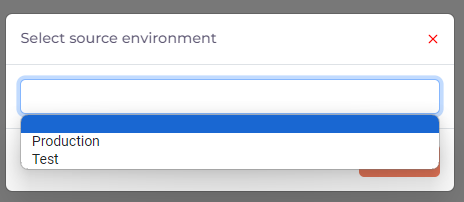
Extract Database Schema
- From the project’s database list, click the button to automatically extract the database schema.

- Select the environment to use for schema extraction and confirm.
- Check the task status from the “Tasks” submenu.

Create a Grape
- From the “Grapes” submenu, click the “Create Grape” button.

Name your Grape and confirm.
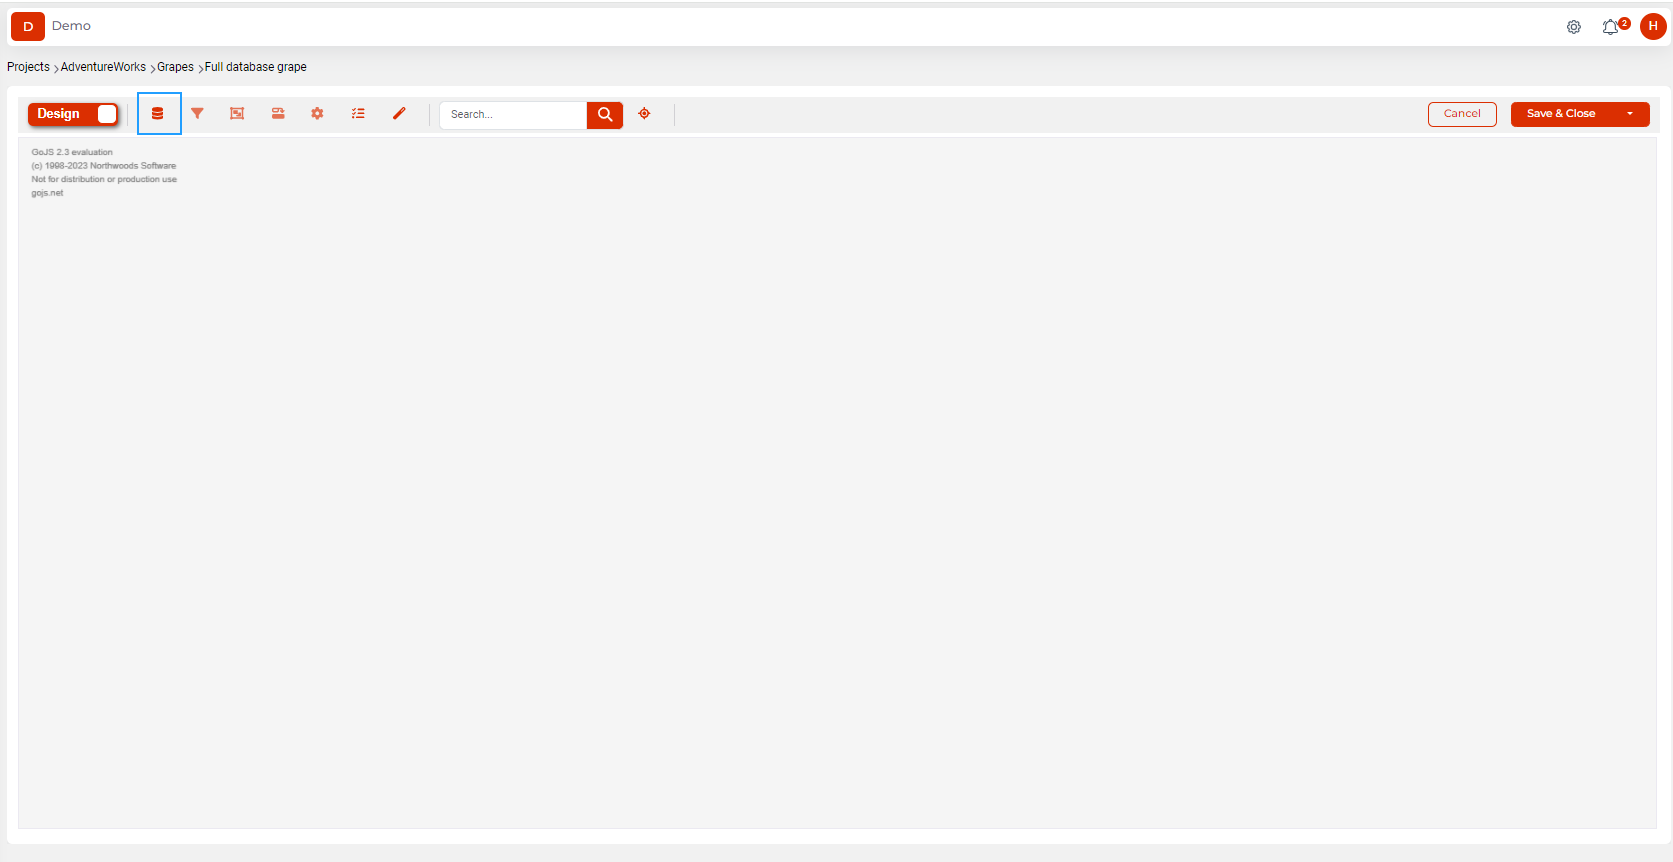
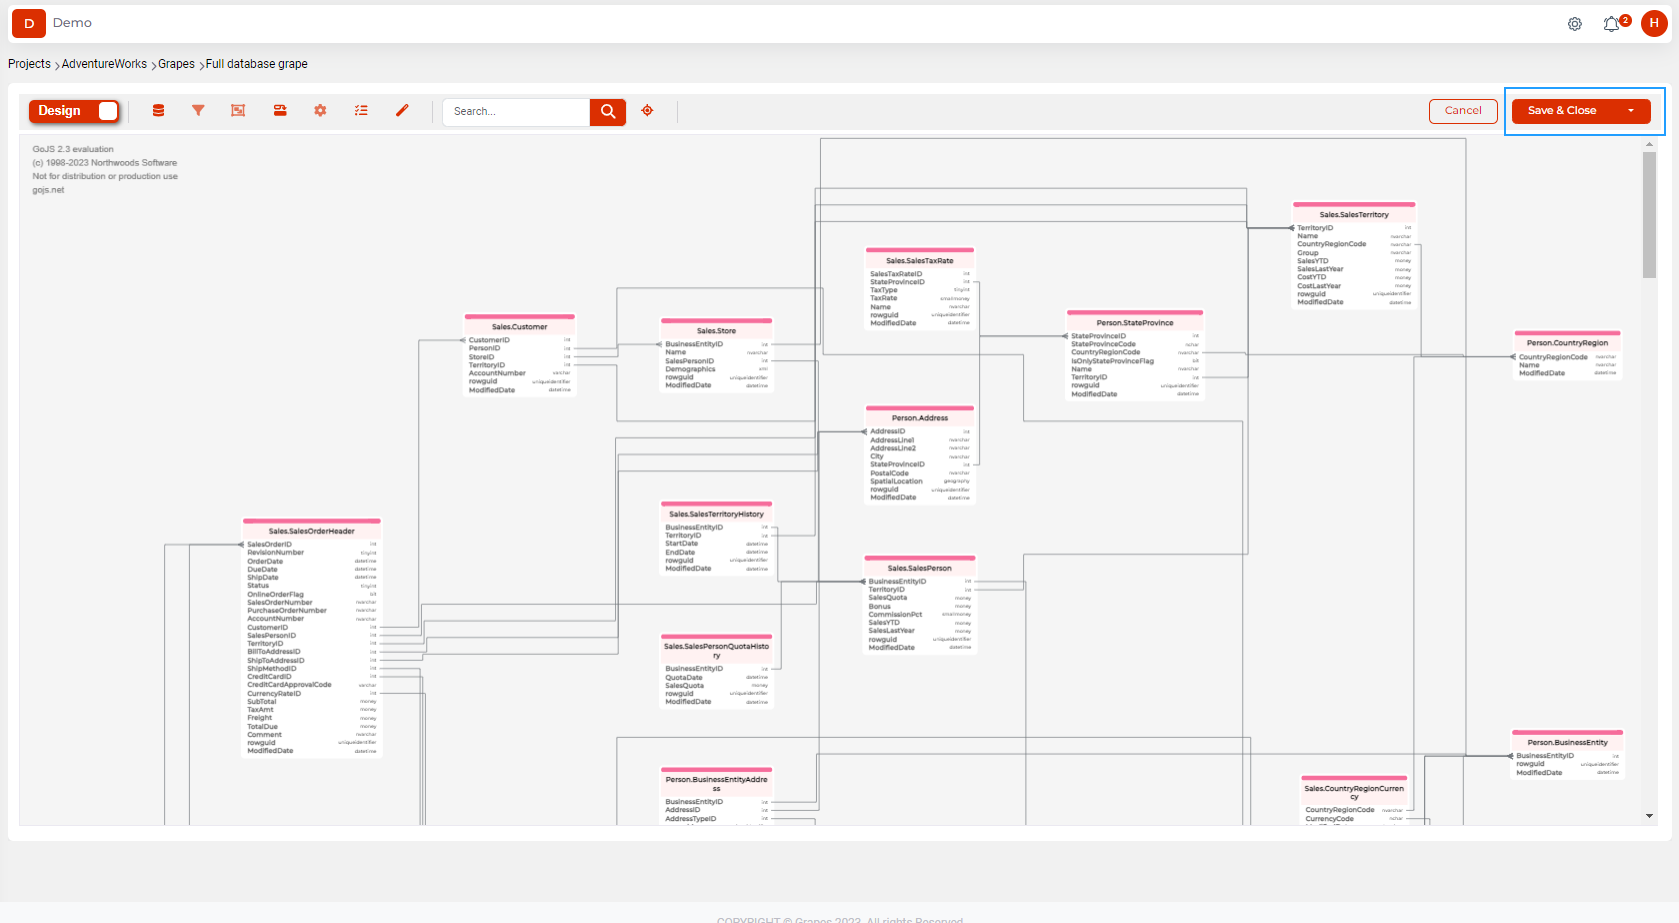
Edit your Grape by clicking the “Edit” button.
Display the object selector by clicking the “Databases” button in the toolbar.
- Add all tables to your Grape.
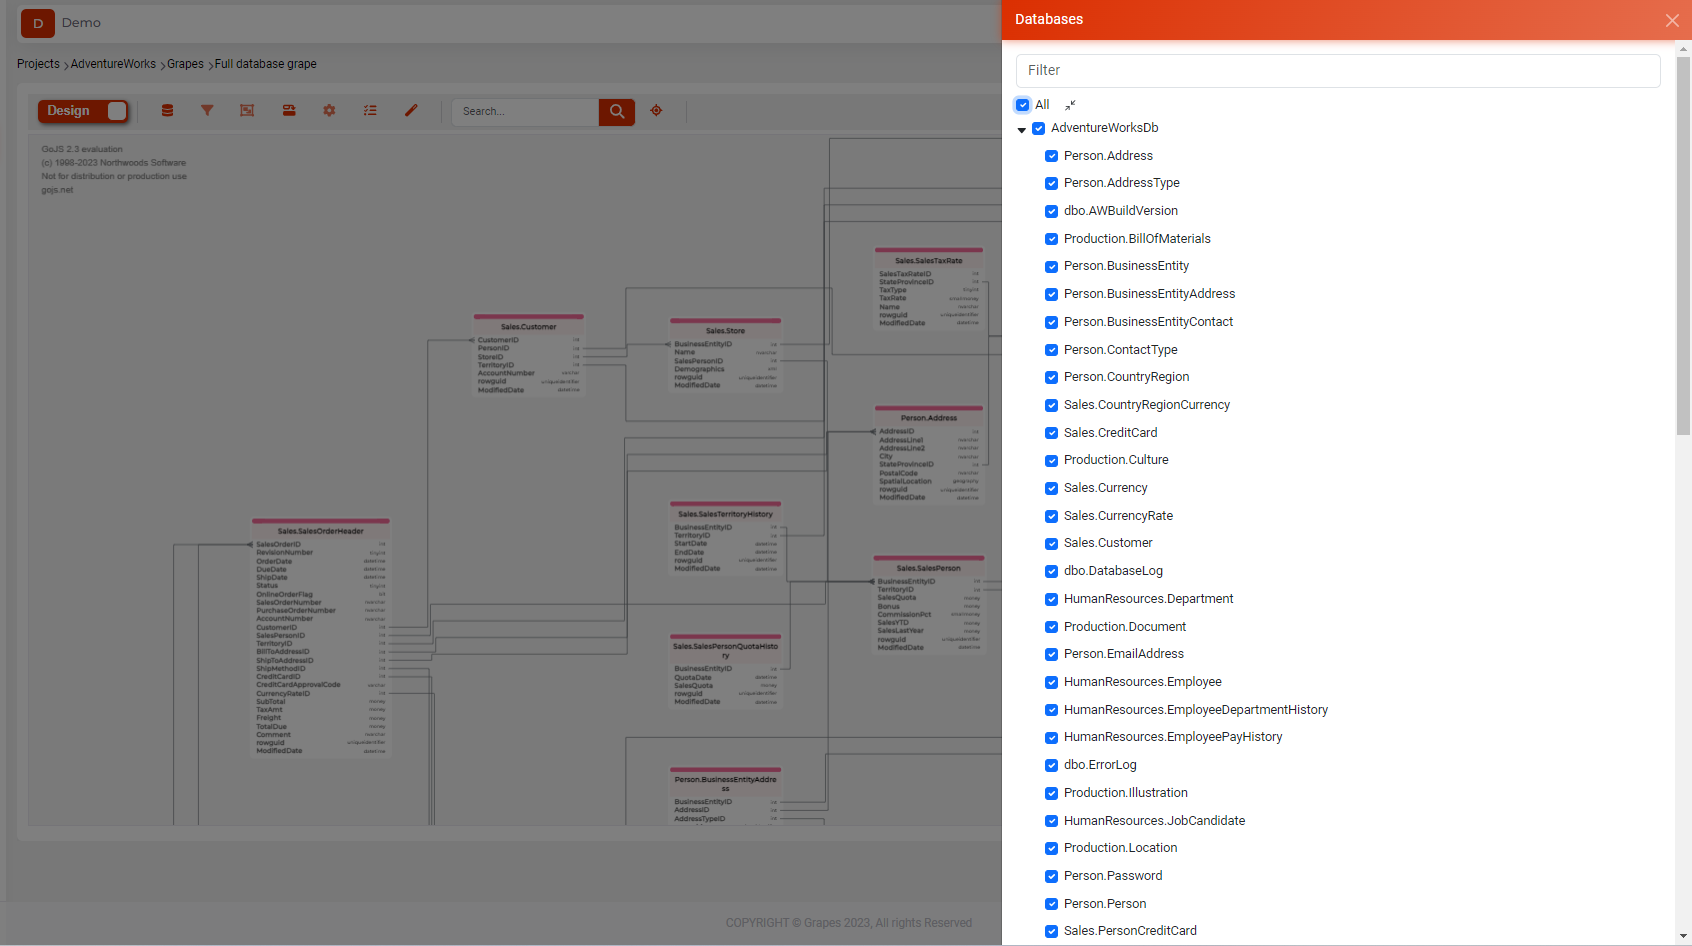
- Save and close your Grape.
Create a Dataset
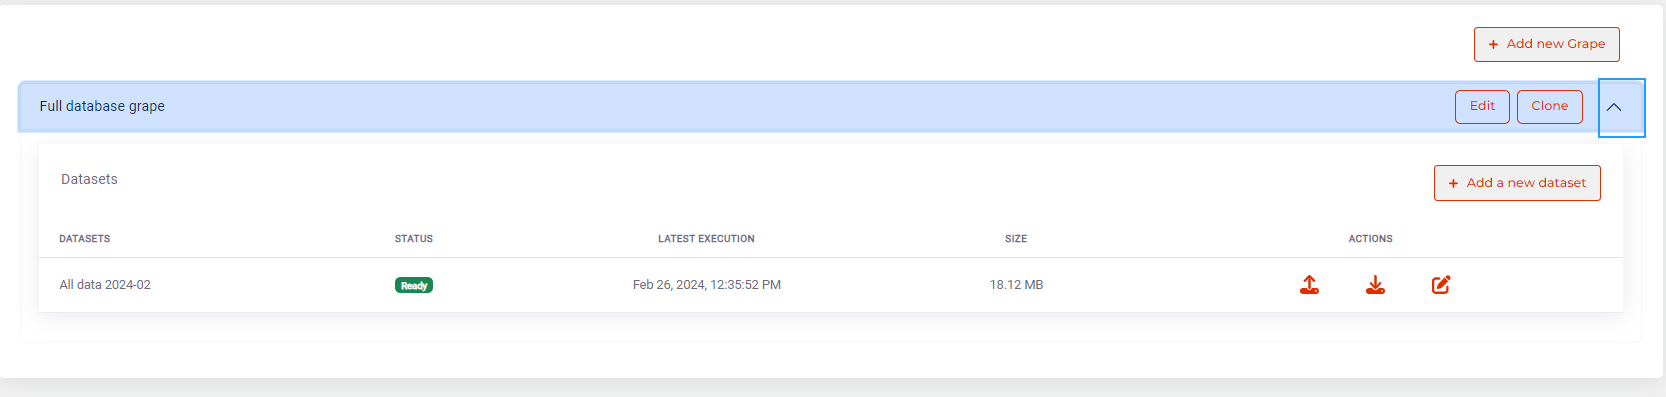
- From the list of Grapes, expand your Grape and click the “Add Dataset” button.
- Name your dataset and confirm.
Export a Dataset
- Click on the “Export” button of your dataset.

Select the environment from which the data will be exported and confirm.
Track the progress of the task from the “Tasks” page.
Verify that the dataset status is “Ready.”
Import a Dataset
- Click on the “Import” button of your dataset.
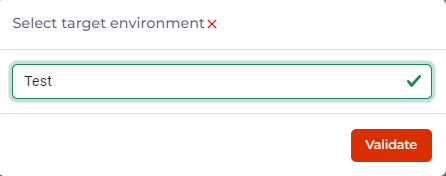
Select the environment into which the data will be imported and confirm.
Track the progress of the task from the “Tasks” page.